Lee
Hall-of-Famer
- Joined
- Apr 27, 2005
- Messages
- 40,977
- Reaction score
- 61,629
- Points
- 148
You have a two dimensional penis? I’ve heard of chicks being flat but never dudes.
I guess cubed? lol
You have a two dimensional penis? I’ve heard of chicks being flat but never dudes.
I like square inches.
I might only have a 4 inch penis, but I gave her 12 square inches. (no, my penis is not square, lol)
I guess cubed? lol
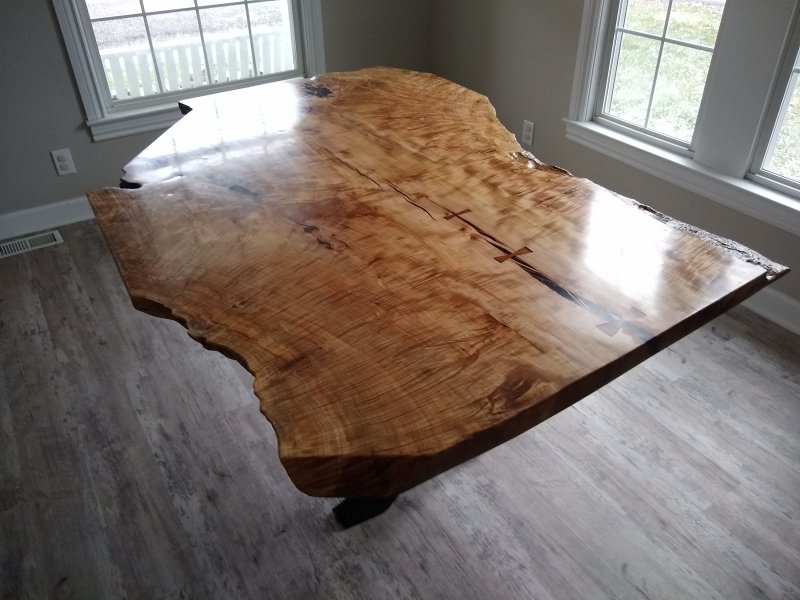
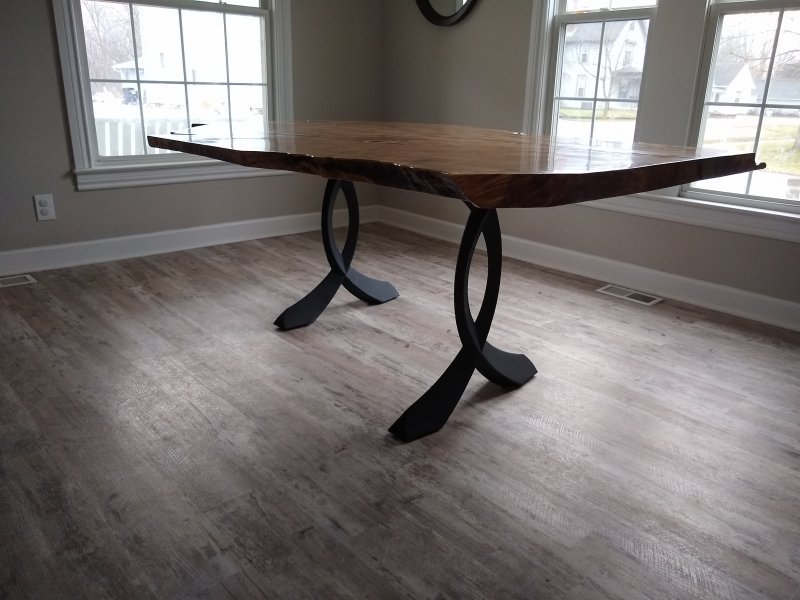
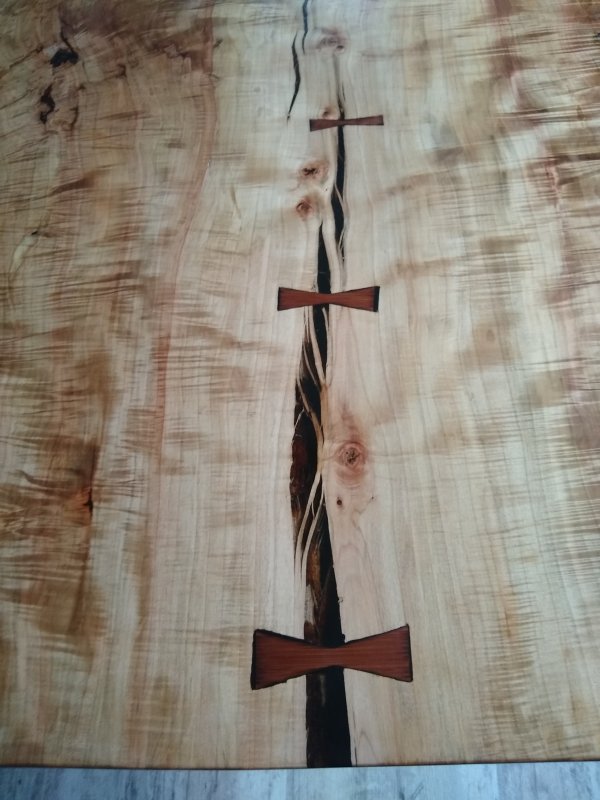
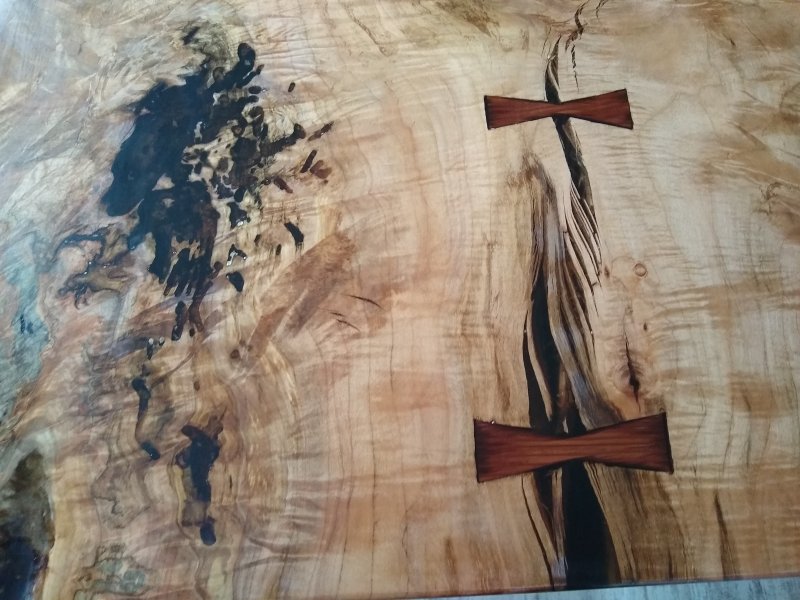
Looks great. I love dining room tables with a bit of character.I finally finished the project that was thrust on me this past fall.
We moved into our house in April and shortly thereafter cut down a massive maple tree in our back yard. I had the larger pieces milled, and managed to break even by keeping 1 of the trunk slabs, a couple branch slabs, and maybe 150 feet of 5/4. The mill kept the other 9 slabs from the trunk as payment.View attachment 4934View attachment 4935View attachment 4936View attachment 4937
simmy, can you reshare them?Wife and I moved into our first home in October last year. Here's a few snaps I shared with @Sebastian:
View attachment 4678
View attachment 4679
View attachment 4680
View attachment 4681
did you do all of the finishing work? If so, damn i have a lot of questions! tit looks absolutely fantastic!I finally finished the project that was thrust on me this past fall.
We moved into our house in April and shortly thereafter cut down a massive maple tree in our back yard. I had the larger pieces milled, and managed to break even by keeping 1 of the trunk slabs, a couple branch slabs, and maybe 150 feet of 5/4. The mill kept the other 9 slabs from the trunk as payment.View attachment 4934View attachment 4935View attachment 4936View attachment 4937
did you do all of the finishing work? If so, damn i have a lot of questions! tit looks absolutely fantastic!
For all of the holes how many layers of resin did you use? How did you keep it from going everywhere? what grit did you use? My wife did some very minor amounts for some of our kitchen shelves and it made a god awful mess. Thankfully its shelves and nothing anyone will ever seeThe slab was kiln dried and leveled at the mill. I did the rest.
The voids are filled with epoxy, the surface is oil based varnish.For all of the holes how many layers of resin did you use? How did you keep it from going everywhere? what grit did you use? My wife did some very minor amounts for some of our kitchen shelves and it made a god awful mess. Thankfully its shelves and nothing anyone will ever see
The voids are filled with epoxy, the surface is oil based varnish.
I used a deep pour epoxy, so theoretically I could have done it in 2. I dyed a thin layer black on the bottom so you can't see all the way through, then clear to the top. I ended up doing probably 6 or 7 total sessions between the screwups, topping off after it settled, and hitting up the voids on the bottom.
I taped off the bottom of the table, and used plumbers putty to build a dyke around the top so I could overfill without making a mess.
Couple of mistakes here:
1. Painters tape will not get it done. TYVEK tape worked for me. It's made for house wrap, so it's a thick, sticky packing tape.
2. I didn't sand the bottom of the table before I taped it off, so I didn't get a good seal on the rough surface. This resulted in the first pour mostly ending up on the ground.
3. Plumbers putty, at least the kind I used, was a mistake. The oils in the putty leached into the wood. Luckily it sanded out OK.
In the end, I over-poured on the surface and made a mess. I came back through with a flap wheel to clean it up once it was cured. It was nerve wracking because it's so easy to screw up, but the belt sander wasn't getting it done.
There were a couple open voids that I dammed off with a shim then caulked. When it cured, I used a dremel to grind it back until all of the caulk was gone.
I started with 80 grit after the belt sanding with a 240 on the final wood finish. I did 320/ 400 between coats of varnish with a final 600 wet sand by hand. I finished it off by using an automotive rubbing compound by hand.
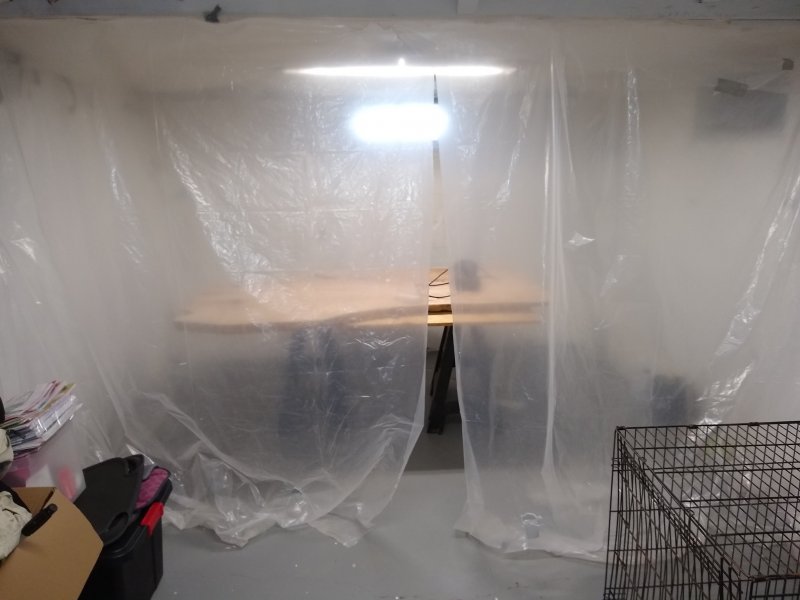
I started out in the garage, but you're not supposed to pour epoxy below 60F and it was October, so I had to move my Dexter fan club into the basement. I mostly got in trouble for the bathroom sink always being dirty.Beautiful...really nice work...
I found some nice live-edge wood slabs on FB marketplace and was hoping to get some and turn a yuge profit (plus I find woodworking relaxing and good for my mental health) but I lost shop privileges after (stupidly) stinking up the house with PB Blaster, then wife googling and concluding that I shouldn't do woodworking in basement.
